A practical setup guide for schools, event organizers, and B2B buyers on arranging a 10-pin garden bowling set. Covers the triangle formation, spacing relative to ball size, surface selection, and reset workflow for group play, plus a buyer checklist for easy setup.
Why Pin Setup Decides How the Game Plays
A ten-pin garden bowling set looks like a simple product: place the pins, stand back, roll. For schools, event organizers, and retail buyers, though, the difference between a game that runs smoothly and one that frustrates players comes down to formation, spacing, and surface.
This guide sets out a repeatable method for arranging a 10-pin garden set, using pin height and ball diameter as the reference points rather than regulation lane dimensions, which do not apply outdoors. It closes with a buyer checklist, because setup difficulty is usually decided at the point of purchase.
Key takeaways
- Arrange 10 pins in a triangle, lead pin facing the bowler, with four rows building backward.
- Set pin-to-pin gaps relative to the ball diameter — not so wide the ball passes through, not so tight the pins jam together.
- Pick a flat, firm surface first; accurate spacing on uneven ground is wasted effort.
- For group play, assign a reset routine so every round starts from the same formation.
Step-by-Step Setup
Step 1: Choose and Prepare the Surface
Select a flat, firm surface before placing any pin. Short mowed grass, a paved patio, a gym floor, or firm packed dirt all work. What matters is that the ground does not tilt enough to make the ball drift before it reaches the pins.
Clear stones, twigs, and other debris. On grass, one pass with a rake removes most obstructions. On very soft or sandy ground, pins can sink or shift on impact; a flat board or mat under the pin area helps hold the formation.
Step 2: Mark the Triangle
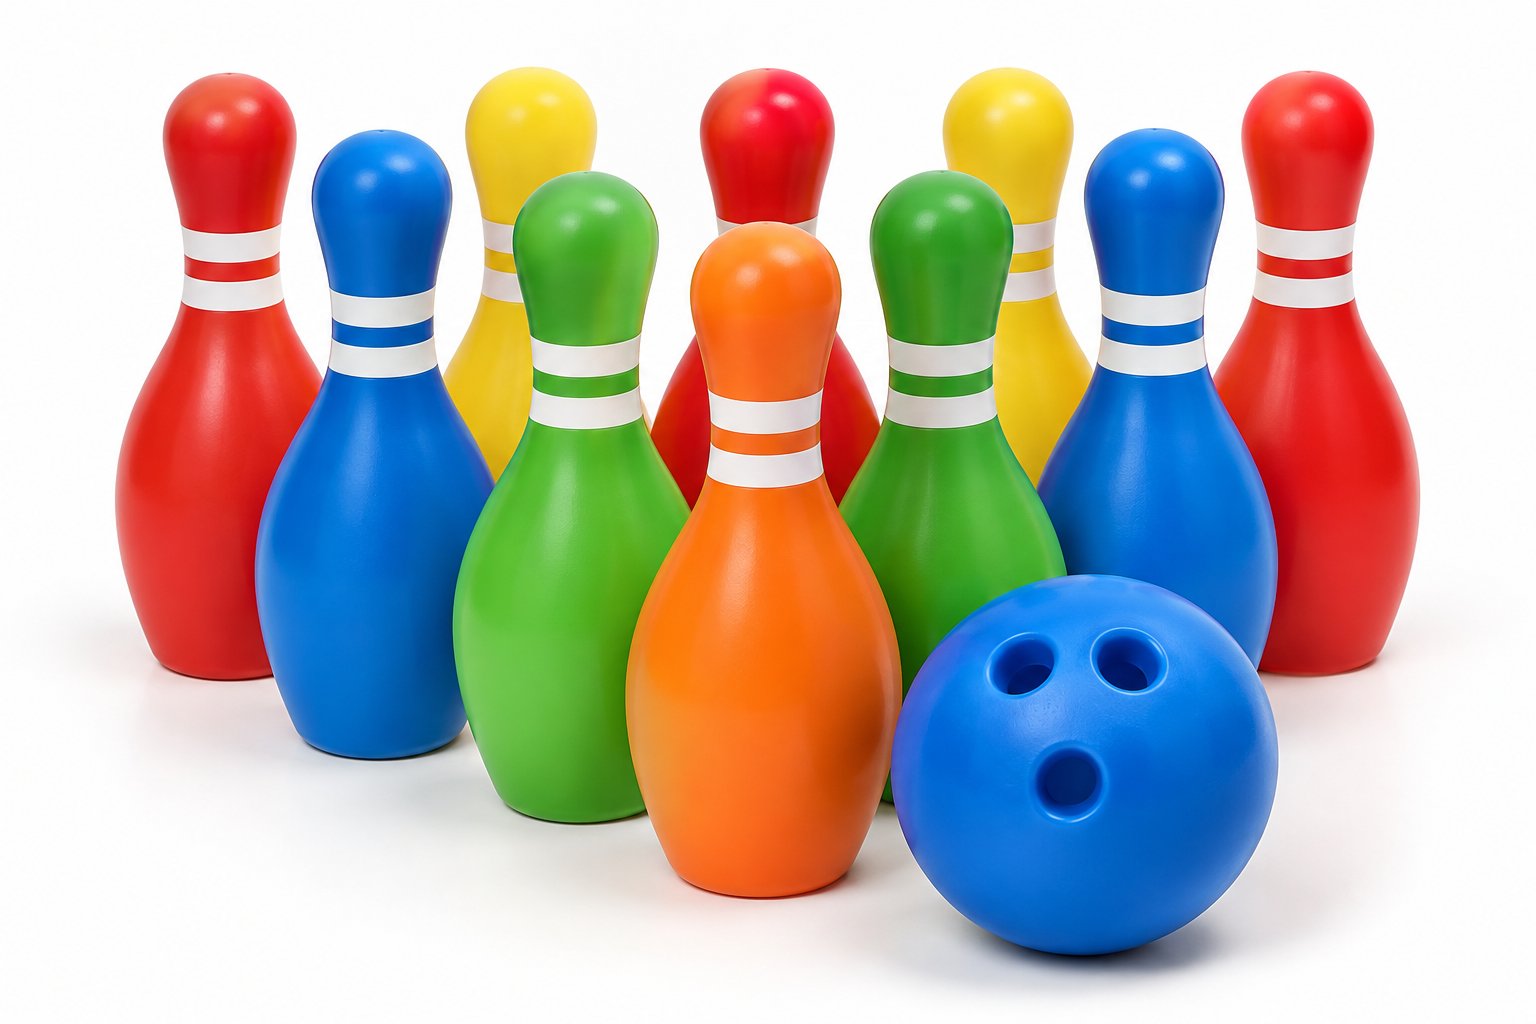
The standard ten-pin shape is a triangle with the lead pin closest to the bowler and four rows behind it:
- Row 1: 1 pin
- Row 2: 2 pins
- Row 3: 3 pins
- Row 4: 4 pins
Space the rows evenly. Whether you mark spots with chalk or small markers, or simply sight along the rows, keep the triangle symmetric. A lopsided triangle creates gaps the ball slips through without contact, or clusters where pins knock each other over before the ball arrives.
Step 3: Set Spacing Relative to the Ball
There is no single spacing number that fits every garden set, because pin diameter and ball diameter vary between products. Use the ball itself as the measuring reference.
With a 16 cm ball — the size supplied with the Kids Garden Bowling Set — the gap between adjacent pins should be close to the ball diameter: wide enough that the ball can pass between two pins only if it rolls through the exact centre, but narrow enough that it strikes a pin on either side. A practical check: set the ball on the ground between two adjacent pins. If it sits with a finger's width of clearance on each side, the gap is too wide. If it cannot sit between the pins without lifting them, the gap is too narrow.
Apply the same rule across every row. Consistent spacing matters more than an exact measurement, because a consistent formation lets players predict how the ball will react and adjust their aim.
Step 4: Seat Each Pin Upright and Stable
Every pin should sit flat on its base. Press down gently to seat it, especially on grass. A pin tilted even slightly will fall from a glancing hit, which makes scoring unpredictable and slows the game down.
With moulded-base pins, check that the base is not resting on a pebble or a tuft of grass. A quick visual check down the line catches most tilt problems before the first roll.
Step 5: Assign a Reset Workflow
For group play — school classes, family events, camps, or a retail demo area — the reset step is what keeps the game moving. A simple routine works best:
- One person resets pins after each round.
- Pins go back to their marked positions, not simply tossed into a loose triangle.
- The ball returns to the starting line before the next player rolls.
If you run more than one lane, keep a spare set of pins nearby so one lane can be reset while another is in play. Schools and event organizers running rotating groups will notice the difference.
Setup for Different Age Groups
The same triangle serves different age groups, but spacing and ball choice can be tuned. For younger players around ages 5 to 7, slightly wider spacing and a lighter ball make the game more forgiving. For older players or more competitive play, tighter spacing and a standard ball raise the challenge.
If one set is shared across mixed ages, choose the ball size that suits the youngest player and set pin spacing to match. This is a practical point for schools and for retail buyers whose end users span several age groups.
Common Setup Mistakes to Avoid
- Spacing pins by eye each round. Without a reference the triangle drifts wider or narrower as the game goes on. Use the ball as your gauge, or mark the spots.
- Ignoring surface slope. If the ball consistently curves to one side, check the ground before moving pins around.
- Setting the triangle too tight. Pins that touch fall in clusters and reduce the satisfaction of a clean hit.
- Letting every player reset their own pins. This slows group play; a dedicated reset routine keeps rounds moving.
Buyer Checklist: What Makes a Set Easy to Set Up
For B2B buyers sourcing garden bowling sets, setup experience is a product quality issue, not an afterthought. Before confirming an order, check:
| Feature | Why It Matters for Setup |
|---|---|
| Pin base stability | A flat, wide base keeps pins upright on grass and resists tipping from light contact. |
| Ball diameter | The ball should match the pin spacing in the set; an oversized ball reduces the skill element. |
| Pin height and diameter | Larger pins are easier for young players to see and reset, but need more floor space. |
| Carry bag or storage | A mesh carry bag keeps 10 pins and the ball together, so setup starts with a complete set. |
| Material and weather resistance | Weather-resistant PE plastic can be left outdoors and wiped clean, cutting pack-down time. |
The Kids Garden Bowling Set contains 10 pins at 28 cm height and one 16 cm ball with moulded finger holes, packed in a mesh carry bag. It is made from weather-resistant PE plastic, suitable for ages 5 and up, and compliant with EN71 and ASTM F963. Minimum order quantity is 500 sets, with OEM/ODM available from Fujian Lequ Wanwan Co., Ltd., a B2B toy manufacturer and exporter.
FAQ
How do I stop pins from falling before the ball reaches them?
Check that each pin is seated flat and the surface is level, pressing each pin down gently on grass. If pins still tip, the spacing may be too tight and pins are touching each other.
Can garden bowling pins be set up on grass?
Yes. Short, firm grass works well — mow the area first and remove debris. On very soft ground, a flat board under the pin area helps hold the formation.
What spacing should I use for a 10-pin garden set?
Use the ball as the reference. The gap between adjacent pins should be close to the ball diameter: wide enough for the ball to pass through the centre, narrow enough that it contacts pins on either side.
For bulk orders or OEM inquiries, contact the supplier with your target quantity and customization requirements.