A step-by-step first-flight guide for toy-grade mini drones: pre-flight checks, calibration, basic controls, safety rules, and a practice progression that helps beginners fly with confidence and fewer crashes.
Flying a mini drone for the first time is easier than most people expect, provided you follow a short, ordered routine instead of switching it on and pushing the throttle. The most common causes of a first-flight crash are an uncalibrated gyro, a drained battery, and flying indoors near people or pets. This guide walks through the checks, controls, and practice steps that get a beginner pilot hovering confidently in under an hour, using the features common to toy-grade mini drones such as altitude hold and 2.4GHz control.
Key takeaways
- Charge the battery fully using the supplied USB cable before every session.
- Calibrate the drone on a level surface before takeoff to avoid drifting.
- Learn throttle first, then yaw, then pitch and roll.
- Fly in an open area away from people, pets, and fragile objects.
- Altitude hold lets you release the throttle to hover, reducing crashes for beginners.
Pre-flight checks before you power on
A few minutes of preparation prevents most of the problems beginners encounter. Work through this list every time you fly, not just the first time.
- Charge the battery. Use the USB charging cable that came with the drone. A partially charged battery shortens flight time and can cause erratic power delivery. Charge until the indicator shows full, then disconnect.
- Check the propellers. Each propeller should spin freely by hand and show no cracks or bends. A damaged propeller causes vibration and unstable flight. Replace it before flying if in doubt.
- Inspect the arms and body. Make sure the arms are fully extended and locked, and that no screws are loose. A folded arm will make the drone flip on takeoff.
- Power on the remote first. Turn on the 2.4GHz remote control before the drone. This lets the drone bind to the remote immediately and avoids interference from other devices.
- Check the surroundings. Fly in an open indoor space or a quiet outdoor area with no people, pets, or overhead obstacles. Keep a minimum of two meters of clear space around you.
If you are also preparing a ground vehicle for practice, the same battery and range discipline applies to a 2.4GHz remote control off-road car.
Calibrating the drone
Calibration tells the drone which direction is level. Skip this step and the drone may drift sideways or backward the moment it lifts off. Most toy-grade mini drones use a simple two-step calibration.
- Place the drone on a level surface. Use a table or the floor. Avoid carpets with thick pile, as the uneven surface affects the gyro reading.
- Power on the drone and wait for the LED lights to stop flashing and remain steady. This indicates the drone has bound to the remote and is ready.
- Perform the calibration stick movement. On most models, pull both sticks down and outward (or down and inward) simultaneously until the LED lights flash rapidly, then release. The lights will return to steady when calibration is complete. Check your drone's manual for the exact stick pattern, as it varies by model.
- Do not move the drone during calibration. Any movement will be interpreted as a new level position and cause drift.
If the drone still drifts after calibration, repeat the process on a different level surface. Persistent drift usually indicates a damaged propeller or a gyro that needs re-calibration.
Understanding the basic controls
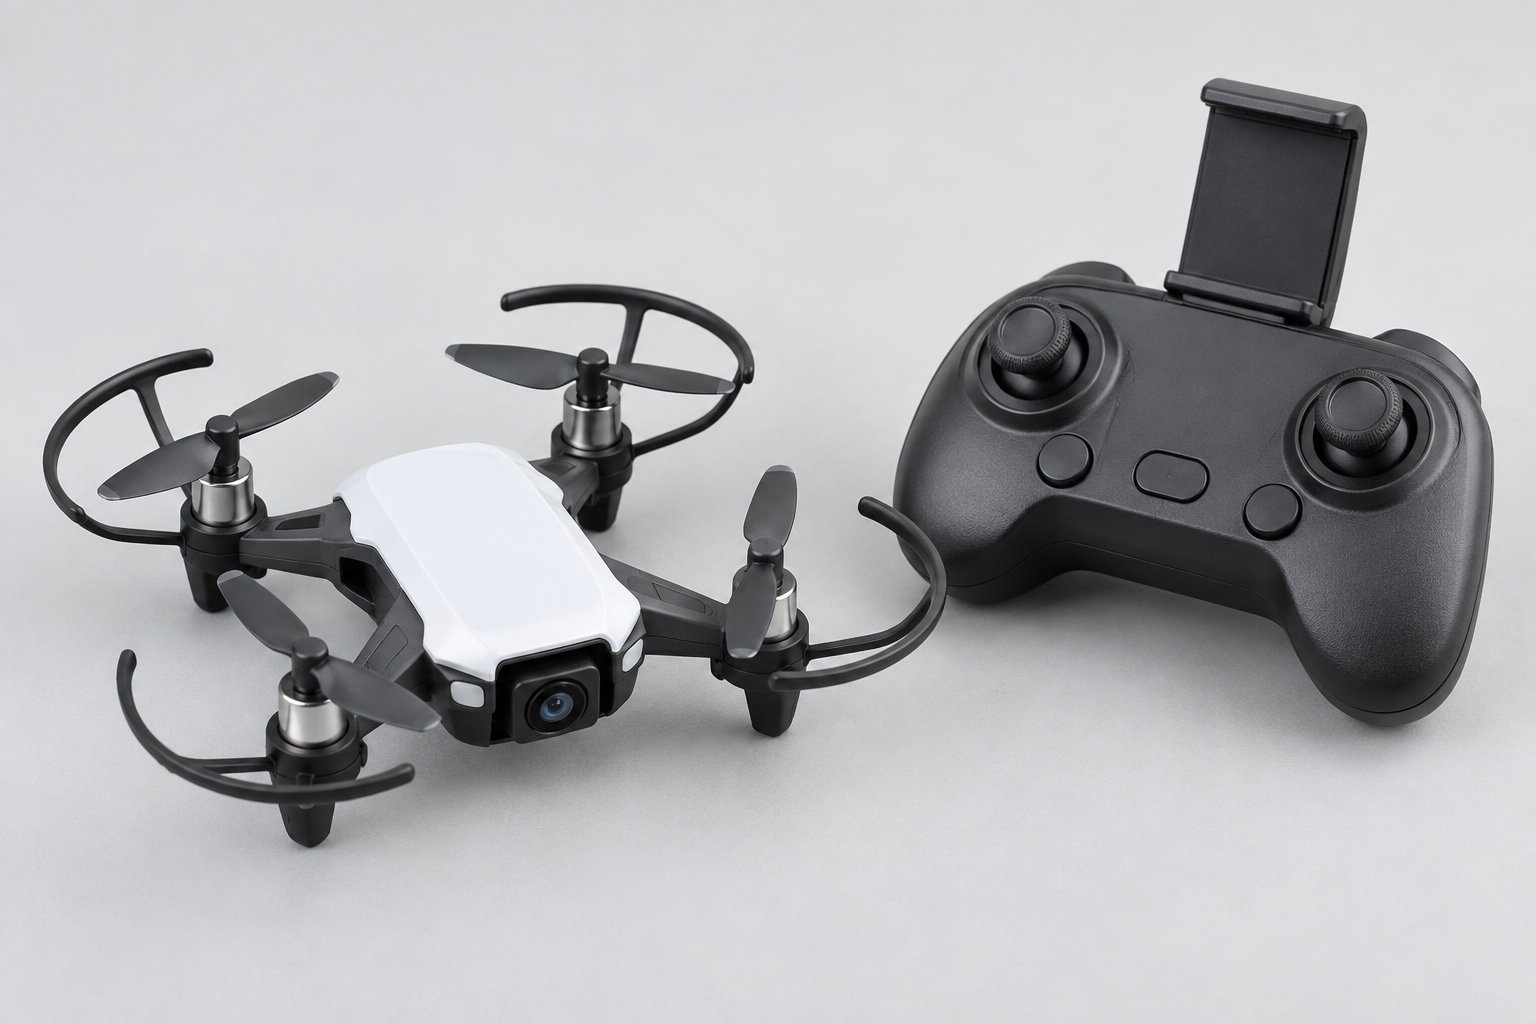
Every mini drone uses the same four control inputs. Learn them one at a time rather than trying to master all four at once.
| Control | Stick movement | What it does |
|---|---|---|
| Throttle | Left stick up or down | Increases or decreases altitude. Up takes off, down lands. |
| Yaw | Left stick left or right | Rotates the drone clockwise or counterclockwise in place. |
| Pitch | Right stick up or down | Tilts the drone forward or backward, moving it forward or back. |
| Roll | Right stick left or right | Tilts the drone sideways, moving it left or right. |
On a beginner drone with altitude hold, the throttle behaves differently. Once you climb to your desired height and release the throttle, the drone holds that altitude automatically. This lets you focus on yaw and directional control without constantly adjusting the throttle. Altitude hold is one of the most useful features for new pilots and a common feature on models such as the Mini RC Drone with 720p Camera and Altitude Hold.
Your first takeoff and hover
The first flight should be short and simple. The goal is to lift off, hover in place, and land under control.
- Stand behind the drone, facing the same direction it is pointing.
- Push the throttle up slowly until the drone leaves the ground. Do not jam the stick to the top.
- Climb to about one meter and release the throttle. With altitude hold, the drone will hover at that height.
- Practice small yaw inputs: rotate the drone slightly left, then right, and return to the original heading.
- When ready to land, pull the throttle down gently until the drone touches the ground, then hold down for two seconds to stop the motors.
Repeat this takeoff, hover, and land cycle five to ten times before attempting forward flight. Each repetition builds the muscle memory you need for more advanced moves.
Safety rules that prevent most crashes
Mini drones are lightweight, but the spinning propellers can still cause injury or damage. Follow these rules from the first flight onward.
- Keep a safe distance. Never fly closer than two meters to people or animals. Keep the drone in your line of sight at all times.
- Avoid indoor flights near fragile items. If you fly indoors, choose a room with soft furnishings and no glass or loose objects.
- Do not fly over water or roads. A lost signal or battery drop will put the drone out of reach.
- Land immediately if you feel disoriented. Beginners often crash when they try to correct a mistake at the wrong stick input. Slow down and land, then start again.
- Check the battery level. Land when the low-battery indicator appears. Pushing a low battery can cause the drone to lose power and drop.
Practice progression: from hover to controlled flight
Once you can hover and land reliably, add one new skill at a time. Use this progression to build confidence without overwhelming yourself.
- Hover in place. Maintain a stable hover for 30 seconds without touching the sticks.
- Yaw control. Rotate the drone 90 degrees left and right, returning to the starting heading each time.
- Forward and back. Move forward one meter, stop, and return to the starting point using pitch only.
- Left and right. Move sideways one meter using roll, then return.
- Square pattern. Fly a one-meter square: forward, right, back, left, returning to the start.
- Figure eight. Combine forward movement with gentle yaw to trace a figure eight.
Spend at least ten minutes on each step before moving to the next. If you make three mistakes in a row, go back one step and repeat it.
Common beginner mistakes and how to fix them
| Mistake | What happens | Fix |
|---|---|---|
| Taking off without calibration | Drone drifts sideways immediately | Always calibrate on a level surface before takeoff. |
| Overcorrecting with the sticks | Drone swings wildly and crashes | Make small, slow stick movements. Release the stick to let the drone stabilize. |
| Flying with a partially charged battery | Sudden power loss and drop | Charge fully before each session and land when the low-battery warning appears. |
| Flying indoors near pets or people | Collision and injury risk | Fly in an open area. Keep two meters of clearance. |
| Using a damaged propeller | Vibration and unstable hover | Inspect propellers before each flight and replace damaged ones. |
Frequently asked questions
How long should a beginner drone flight last?
Keep your first flights under two minutes. Short sessions help you focus and reduce the chance of a crash. As you gain control, you can extend the flight time within the limits of the battery.
Do I need to register a toy-grade mini drone?
Registration rules vary by country and by the weight of the drone. Check your local aviation authority for the current requirements. Many toy-grade mini drones fall below the weight threshold that triggers registration, but you should verify this for your location.
Why does my drone drift even after calibration?
Drift after calibration usually points to a damaged propeller, a bent motor shaft, or a calibration surface that was not level. Inspect the propellers and motors, then repeat the calibration on a different level surface.
Can I fly a mini drone indoors?
Yes, but choose a room with plenty of space and soft furnishings. Avoid rooms with glass, loose objects, or people who might move suddenly. Always keep the drone in sight and fly at low altitude.
What does altitude hold do?
Altitude hold uses a sensor to keep the drone at a consistent height when you release the throttle. This lets you focus on turning and moving without constantly adjusting the throttle, which is especially helpful for beginners.
Next steps
The path from first takeoff to confident flight is short if you follow a structured routine: charge the battery, calibrate on a level surface, practice hovering, and add one new skill at a time. Toy-grade mini drones with features such as altitude hold and 2.4GHz control make that progression much smoother. If you are selecting a beginner model, look for these features and read the manual for the specific calibration steps and control layout of the drone you choose. Retailers can share this guide with customers to reduce first-flight crashes and product returns.