A buyer-side walkthrough of the custom toy packaging process, from brief to approved sample to mass production, with the checkpoints that matter at each stage and three real packaging setups from plush toy production.
Packaging & Customization
If you are sourcing plush or other soft toys and need packaging that carries your brand into a retail aisle or an e-commerce parcel, the packaging decision runs alongside the product decision. This walkthrough shows how a custom toy package is actually made — brief, dieline, artwork, sample, production — from the buyer's side of the table: what you brief, what you approve, and what to confirm before mass production starts.
What this article covers
- Why packaging gets decided late — and why that costs you
- The five stages of a custom packaging order
- What to put in the packaging brief
- Dieline and artwork: what you are actually approving
- Sampling and sign-off
- Mass production and pre-shipment checks
- Three real packaging setups to compare against
- A buyer's checklist: what to confirm at each stage
- Frequently asked questions
- Next step
Why packaging gets decided late — and why that costs you
Most toy sourcing projects start with the product: plush density, fabric, stitching, size assortment. Packaging often gets treated as a detail to settle after the sample is approved. In practice, packaging touches almost everything upstream of it. A counter display box changes how many units fit a carton. A color box changes how the product is protected and how the outer carton is stacked. A poly bag is simple but carries its own labeling obligations in many export markets.
Fujian Lequ Wanwan Co., Ltd. runs OEM/ODM customization covering custom colours, sizes, materials, packaging and branding, with in-house design, engineering, quality control and export documentation teams, and sampling that runs from brief to approved sample. That structure matters here because packaging and product are reviewed in the same workflow rather than handed to two disconnected suppliers.
The five stages of a custom packaging order
The process below is qualitative by design. Exact print methods, board weights, finishes and lead times vary by structure and supplier, so treat the stages as a sequence of decisions rather than a fixed calendar. Confirm the specifics for your project directly with the supplier.
The brief
You tell the supplier what the packaging has to do: protect the toy in transit, present it on a shelf, present it online, or some combination. The brief should name the product, the target market, the retail channel, the quantity you expect to order, and any labeling or language requirements your buyers impose. If your retail buyer has a packaging spec sheet, send it — it overrides most general preferences.
What to confirm at this stage: whether the supplier can produce the structure you have in mind, what they need from you to quote it, and which party is responsible for artwork files versus structural design.
Dieline and artwork
The dieline is the flat cutting and folding layout of the package. Artwork is what prints on it. These are two separate approvals and it helps to treat them that way.
On the dieline, check that internal dimensions actually fit the finished toy with any accessories, that the closing method works for your packing line, and that the structure survives the carton configuration you plan to ship in. On artwork, check colour references, barcode placement and quiet zones, required legal text and language versions, and where the brand logo sits relative to fold lines.
What to confirm: who supplies the dieline, whether the supplier's engineering team adjusts it for manufacturing, and who signs off the final print-ready file.
Sampling
A packaging sample is the point where the file becomes an object. For a printed box, ask for a sample that shows the actual structure and colour, not just a digital proof. For a poly bag or display box, ask how the sample reflects the final packing method — for example, whether the bag includes the header or warning panel you specified.
Sample approval is where most rework is avoided, so be literal. Check the fit with the real toy, the colour against your reference, the text against your market's requirements, and the strength of the closure. If you are approving a display box, check how it stands and how it presents the toys inside. When you judge colour, compare the printed sample against your artwork reference side by side rather than from memory, and note that a hand-made sample can differ from a production run in fold crispness and edge finish — ask the supplier which differences are expected and which are not.
What to confirm: what exactly the sample represents (hand-made versus production tooling), how long approval is valid, and whether a signed sample is retained as the production reference.
Approval and production release
Once the sample is approved, the packaging spec should be locked: structure, dimensions, material, print, finish, and packing count per carton. This is also when the commercial picture should be clear — the quantity you are committing to, the carton configuration, and how the shipment will be documented for export.
What to confirm: that the approved sample and the written spec agree, and that any change after approval goes through a documented revision rather than a verbal instruction.
Mass production and pre-shipment
During production, the quality checks that matter on packaging are consistency (colour across the run, print alignment), structure (fold and closure performance), and packing accuracy (correct count per carton, correct mix in an assortment). Before shipment, ask for photos or a pre-shipment inspection record showing the packed cartons and, where relevant, the display units assembled.
What to confirm: the inspection criteria, who conducts the check, and which documents accompany the shipment.
The most common buyer-side mistake is approving artwork before confirming the structure. A beautiful print on a box that does not fit the toy, or that does not stack in your carton configuration, sends the project back to stage two. Lock the structure first, then the print.
Three real packaging setups to compare against
Concrete examples are more useful than abstract advice. These three setups come from actual product records and show how packaging choice tracks the retail channel and the product type.
| Setup | Packaging | Packing configuration | MOQ |
|---|---|---|---|
| Plush teddy bear | Poly bag plus export carton | 60 pieces per carton | 1,000 pieces |
| Outdoor sports set | Color box plus export carton | Packed in an outer export carton | 500 sets |
| Plush animal assortment | Counter display box plus export carton | 12 display boxes per carton | 1,000 packs |
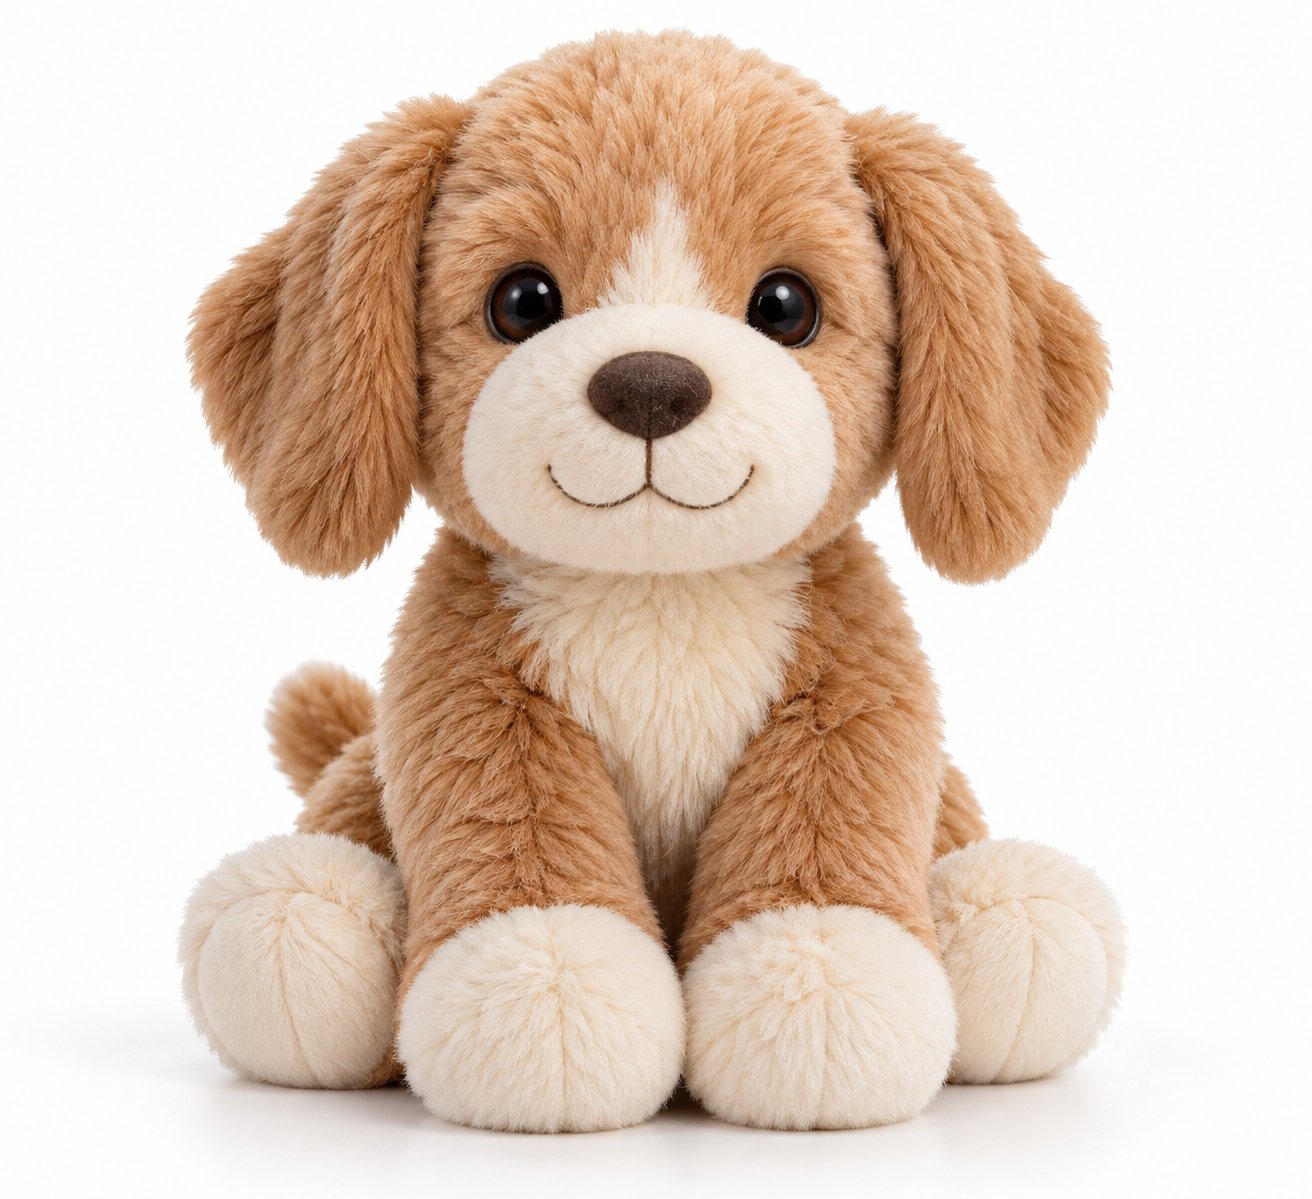
The teddy bear in a poly bag is the simplest path: a protective bag, a carton, and a straightforward count of 60 per carton. It suits channels where the toy is presented by other means — a shelf fixture, a bulk bin, or a marketplace listing with its own images. See the soft plush stuffed animal toy for how that product is presented.
The outdoor sports set uses a color box, which does the selling on shelf and also needs its own structural approval. This is a different product category from the plush items above — it is included here because it is the clearest worked example of how a boxed set is packed and quoted; see the outdoor sports toy set page for the product itself. Note that the MOQ for this setup (500 sets) sits at a different level from the plush assortments — MOQ is a per-product and per-packaging decision, not a single company-wide number, so treat it as a cross-category reference point rather than a plush-specific benchmark.
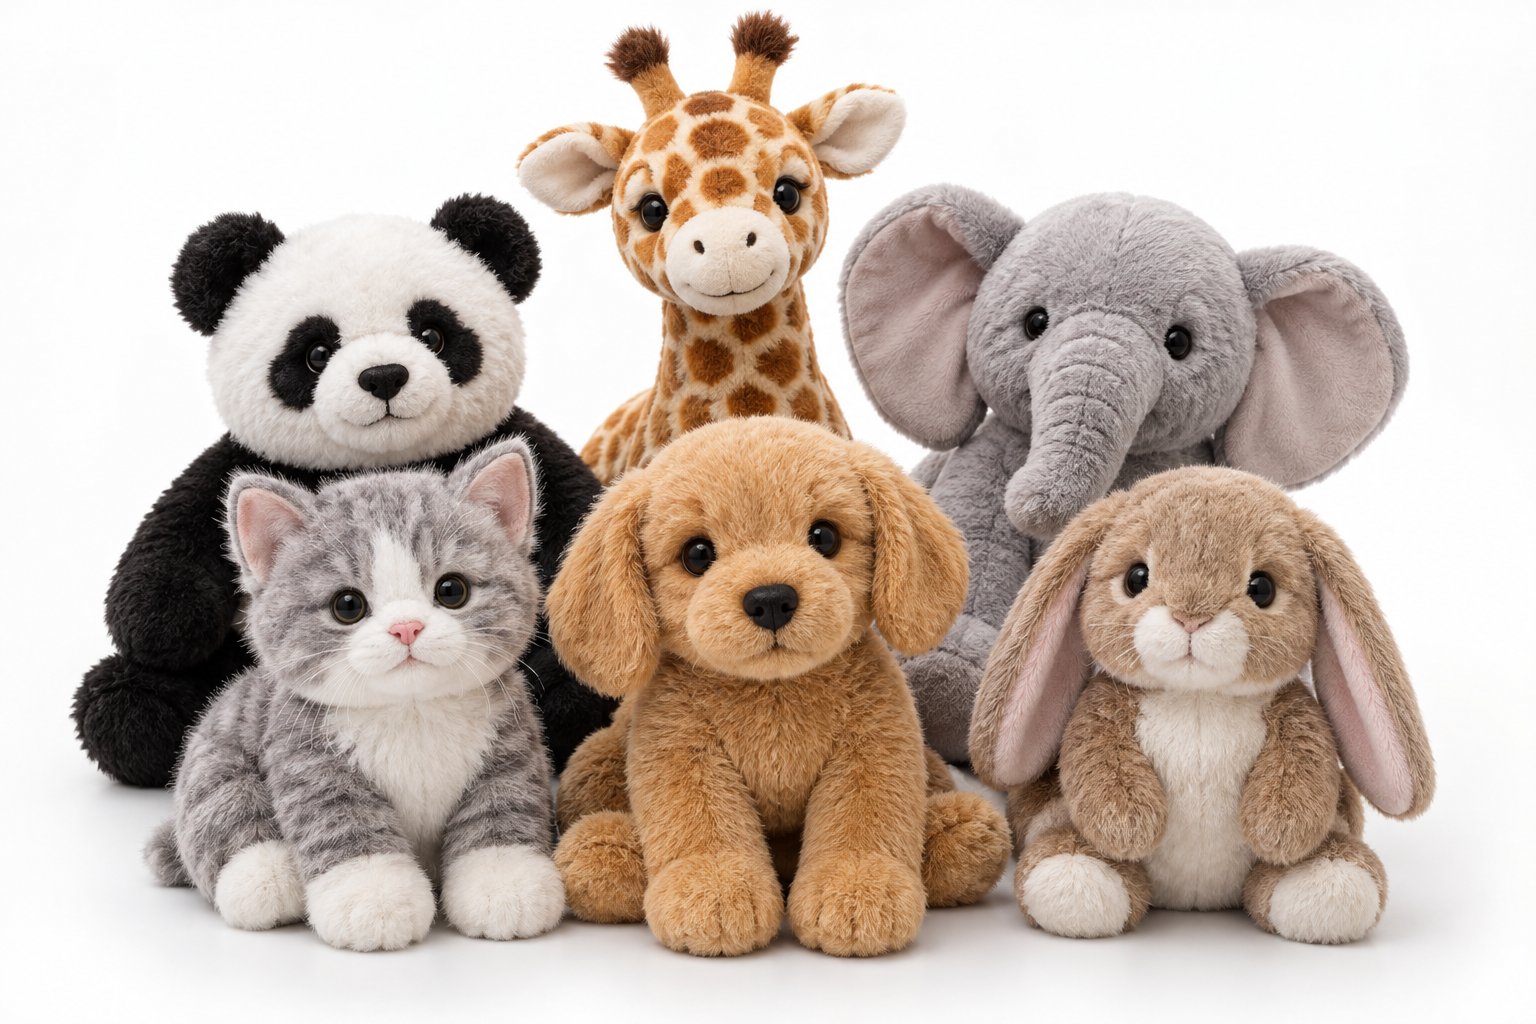
The plush animal assortment uses a counter display box, with 12 display boxes going into each export carton. This is the structure where packaging and merchandising merge: the box is the retail fixture, so its print, its stand-up strength and its capacity all matter. You can see that setup on the plush animal assortment display pack page.
Reading across all three, the pattern is that packing configuration drives carton math, and carton math drives your landed cost and warehouse handling. Confirm the count per carton for your specific product before you finalize any order quantity.
A buyer's checklist: what to confirm at each stage
- Brief: product, target market, retail channel, expected quantity, labeling and language requirements, and any buyer spec sheet.
- Dieline and artwork: internal dimensions against the finished toy, closure method, barcode placement, legal text, colour reference, and who owns the final file.
- Sample: fit with the real product, colour accuracy, structural strength, and what the sample represents relative to production tooling.
- Approval: written spec locked, packing count per carton agreed, post-approval change process defined.
- Production: inspection criteria, pre-shipment records, export documentation responsibilities.
Frequently asked questions
Can one supplier handle both the toy and its packaging?
With an OEM/ODM supplier that offers packaging and branding alongside product customization, the packaging spec can be developed in the same sampling workflow as the toy. That reduces the risk of a fit mismatch between the two. Confirm the supplier's in-house scope during the brief.
How do I choose between a poly bag, a color box and a display box?
Start from the retail channel. Bulk or e-commerce presentation usually suits a poly bag plus carton. Shelf retail where the package must sell the product usually calls for a color box. Counter or impulse merchandising is where a display box earns its cost. These are starting points — your buyer's spec sheet decides the rest.
Why does MOQ differ between packaging setups?
The three setups shown above carry different MOQs because the packaging and packing configuration differ. A printed box or display unit involves setup work that a poly bag does not. Ask for the MOQ per specific product and packaging combination rather than assuming one number applies across a range.
What should I approve first: artwork or structure?
Structure. Approve the dieline and physical fit first, then the print. Approving artwork on an unconfirmed structure is the fastest route to a second sampling round.
Next step
If you have a toy range in development and need to settle packaging before you commit to an order, the useful next step is to send the product details, the target retail channel and your expected quantity to the supplier. From that, a brief, a dieline and a sample can be scoped together. You can start from the plush product range and confirm packaging specifics for your own project directly with the supplier.