
A practical, step-by-step guide for beginners on how to set up a remote control car. Covers battery preparation, transmitter binding, steering and throttle trim, ESC calibration, and pre-run checks, with clear explanations of what each setting does and how to verify it.
A new RC car rarely runs well the moment you unbox it. Steering pulls to one side, the car creeps forward with no input, or the motor stutters. These are setup problems, not defects. This guide explains how to set up a remote control car in the correct order, what each adjustment actually changes, and how to check your work as you go.
Key Takeaways
- Set up in a fixed order: battery, transmitter, receiver binding, then ESC calibration.
- Straighten the steering and set throttle trim to neutral before the first run.
- The steering servo should stop buzzing at neutral. If it doesn't, reduce dual-rate or endpoint.
- Do a wheels-off-ground test before every new setup or after any crash.
- Never bind a receiver with the motor connected and the ESC armed.
What this guide covers
- Before you start: what you need
- Step 1 – Prepare and install the battery
- Step 2 – Power on the transmitter correctly
- Step 3 – Bind the receiver to the transmitter
- Step 4 – Calibrate the ESC
- Step 5 – Set steering and throttle trim
- Step 6 – Check endpoints and dual-rate
- First run and common mistakes
Before You Start: What You Need
Most ready-to-run (RTR) cars include everything except batteries for the transmitter and, in many cases, the drive pack. Before any setup, gather:
- The car and its transmitter, plus the manufacturer's manual for your exact model.
- Fresh or fully charged transmitter batteries (often 4x AA, but confirm on the battery tray).
- A charged drive battery of the correct chemistry and connector type listed for your model.
- A small flat-head screwdriver and, on some models, a hex driver for trim or linkage adjustment.
Read the section of the manual covering binding and ESC calibration before you power anything on. Procedure names and button positions differ between brands; the steps below describe the logic, not one specific product's button layout.
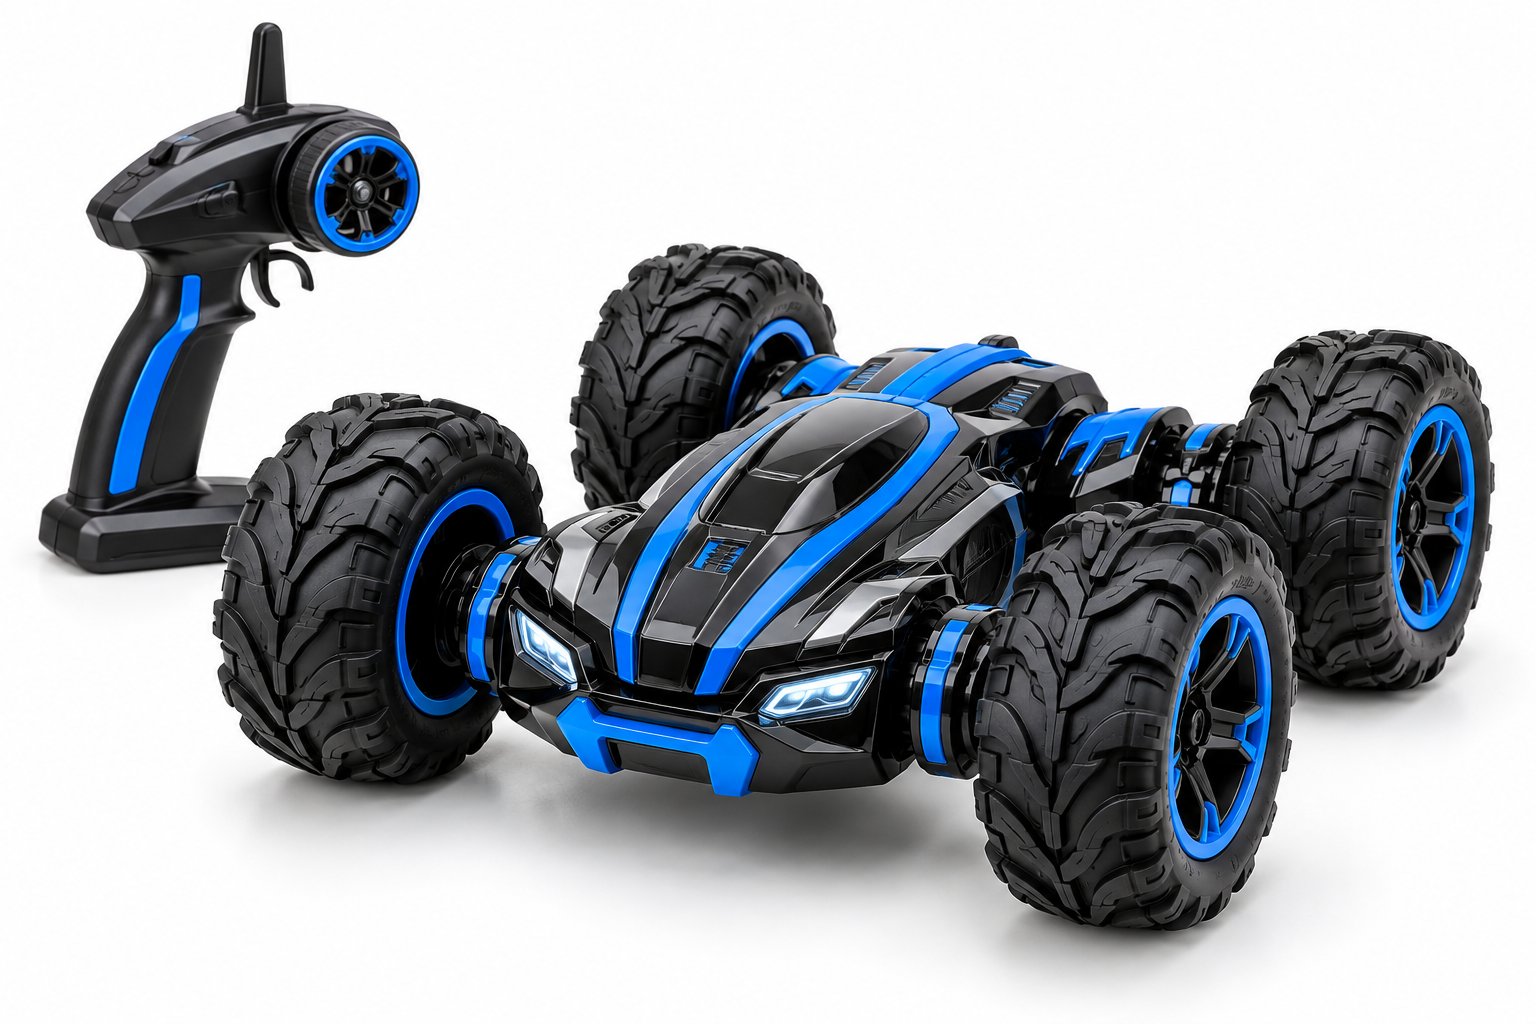
If you are setting up a toy-grade RC car for a child, the process is much simpler: charge the vehicle battery over USB, insert the controller batteries, power on the transmitter first and then the car, and you are ready to drive. A typical example is a four-channel RC stunt car with 360-degree spin, where the handheld controller covers forward, reverse, left, right and spin, the vehicle battery charges over USB, and the controller takes AA batteries.
Step 1 – Prepare and Install the Battery
Start with the drive battery. Confirm it matches the voltage and connector the car specifies, and that it is charged to the level the manual recommends for a first setup.
- Place the car on a stand or blocks so the wheels are off the ground. This prevents the car from launching during calibration.
- Switch both the car and transmitter off.
- Connect the drive battery to the ESC, but leave the car's power switch off for now.
- Secure the battery so it cannot shift. A battery that moves under acceleration changes the car's balance and can unplug mid-run.
Step 2 – Power On the Transmitter Correctly
Power-on order matters. Turn the transmitter on first, then the car. This ensures the receiver locks onto your signal before the ESC can drive the motor.
- Switch the transmitter on and check the battery indicator.
- Confirm the throttle trigger is at neutral and the steering wheel is centered. Some transmitters refuse to bind or calibrate if the trigger is held.
- Check that the model memory (on multi-model transmitters) is set to the correct model. Using the wrong memory will send the wrong trim and endpoint values.
Step 3 – Bind the Receiver to the Transmitter
Binding pairs your transmitter with the receiver so it accepts only that signal. If your car is an RTR kit, it is often already bound; check by powering the car on briefly and confirming the steering responds. If it does not, bind it now.
- Insert the bind plug into the receiver's bind port, or follow the manual's binding sequence.
- Power on the receiver (car) while holding the transmitter's bind button or following its bind command.
- Wait for the receiver LED to change to a steady light, indicating a successful bind.
- Remove the bind plug and power the car off.
Only bind with the motor disconnected or the car on a stand. If the car is armed and on the ground, the motor can spin during binding.
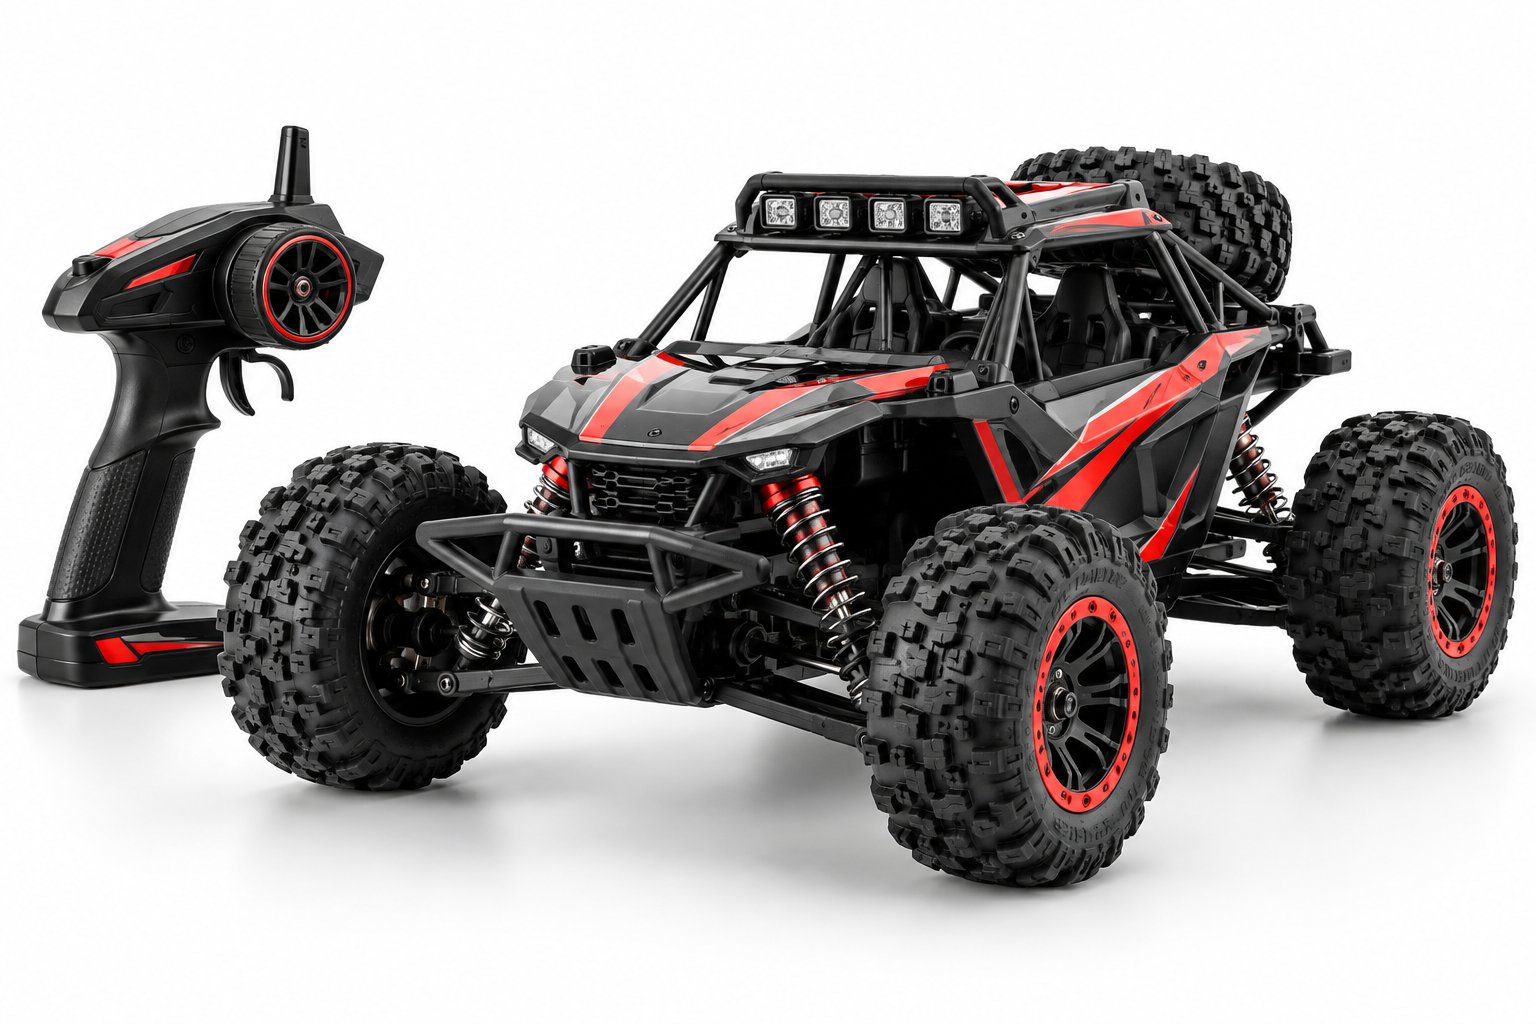
On toy-grade cars, pairing is usually automatic: as long as both units are powered on with the transmitter first, a 2.4GHz system such as the one in our 2.4GHz remote control off-road car connects on its own, and multiple cars can run side by side without channel conflicts.
Step 4 – Calibrate the ESC
ESC calibration teaches the controller the full range of your throttle trigger, so neutral, full forward, and full brake are all recognized. An uncalibrated ESC is the most common cause of a car that creeps forward at rest or has no reverse.
The exact sequence varies, but the structure is consistent:
- With the transmitter on and throttle at neutral, power on the car.
- Hold the throttle at full forward until the ESC confirms (often a beep sequence).
- Move to full brake/reverse until confirmed.
- Return to neutral and wait for the final confirmation.
Follow your manual's specific tones or LED flashes. If the car still creeps or lacks reverse after calibration, repeat the sequence; a trigger that drifted during calibration will not register the full range.
Step 5 – Set Steering and Throttle Trim
Trim adjusts the neutral position so the car tracks straight and stays still when you are not touching the controls.
Throttle trim
- With the car on a stand and no input, the wheels should not spin. If they do, adjust throttle trim until they stop.
- Set the throttle trim so the car holds still at rest, then leave it. Using throttle trim as a speed control leads to drag brake and heat problems.
Steering trim
- Set the car on the ground, or hold it lightly, and steer straight with no input.
- If the front wheels point left or right, adjust steering trim until they are centered.
- Once centered, turn the wheels fully left and right and listen. A continuous buzz means the servo is pushing against a mechanical stop; reduce steering dual-rate or endpoint until the buzz stops at full lock.
Step 6 – Check Endpoints and Dual-Rate
Dual-rate and endpoint settings limit how far the servo and throttle travel. Setting them correctly protects the servo and gives predictable steering.
| Setting | What it controls | How to check |
|---|---|---|
| Steering trim | Neutral position of the front wheels | Wheels point straight with no input |
| Steering dual-rate | Maximum steering angle | No servo buzz at full lock |
| Steering endpoint | Left/right travel limit | Both sides reach equal lock without binding |
| Throttle trim | Rest position of the motor | No wheel spin with no input |
| Throttle endpoint | Full forward and full brake travel | Full range reached without ESC cutting out |
After changing any of these, re-check the others. They interact, and fixing steering trim can shift the neutral point slightly.
First Run and Common Mistakes
Before the first run on the ground, do a final wheels-off-ground test: power on the transmitter, then the car, and cycle steering and throttle. Confirm the wheels return to center, the car does not creep, and there is no servo buzz at lock. Only then put it down and drive slowly for the first minute.
Common beginner mistakes to avoid:
- Powering the car on before the transmitter, which can let the car run uncontrolled.
- Binding or calibrating with the motor connected and the car on the ground.
- Using throttle trim to limit speed instead of the throttle endpoint or a training mode.
- Ignoring servo buzz at full lock until the servo fails.
- Running a battery to full cutoff repeatedly on the first session, which stresses some packs.
If the car still pulls to one side after trimming, check for a mechanical cause: a bent steering linkage, a loose servo saver, or a tire rubbing on the body. Trim can only correct what the linkage allows.
Frequently Asked Questions
Why does my RC car move forward on its own?
Almost always a throttle trim or ESC calibration issue. Set the transmitter throttle trim to neutral, re-calibrate the ESC, and confirm the car is still with no input. If it still creeps, check that the throttle trigger returns fully to neutral.
Do I need to bind the receiver if the car is ready-to-run?
Not always. Many RTR cars ship already bound. Confirm by powering on the transmitter first, then the car, and checking that steering responds. If it does not, bind it using the manual's sequence.
How do I stop the steering servo from buzzing?
Reduce steering dual-rate or the steering endpoint so the servo does not push against the mechanical stop at full lock. Buzzing at neutral can also indicate a trim issue or a binding linkage.
What order should I power on and off?
Power on: transmitter first, then the car. Power off: car first, then the transmitter. This keeps the receiver under signal control at all times.
Can I set up the car without the manual?
You can follow the general order in this guide, but binding and ESC calibration sequences differ by model. Check your specific manual for button positions, tones, and LED signals before you start. If you are sourcing cars for resale, ask the supplier for the correct manual and setup sheet for each SKU.
Sourcing RC Cars With Reliable Setup Support
For retailers and distributors, setup documentation is part of the product. A car that arrives with a clear manual, a labeled bind procedure, and a matching setup sheet reduces returns and support load. When evaluating a supplier, ask for the exact manual and setup instructions for the models you plan to stock, and confirm whether the transmitter and receiver are pre-bound at the factory.
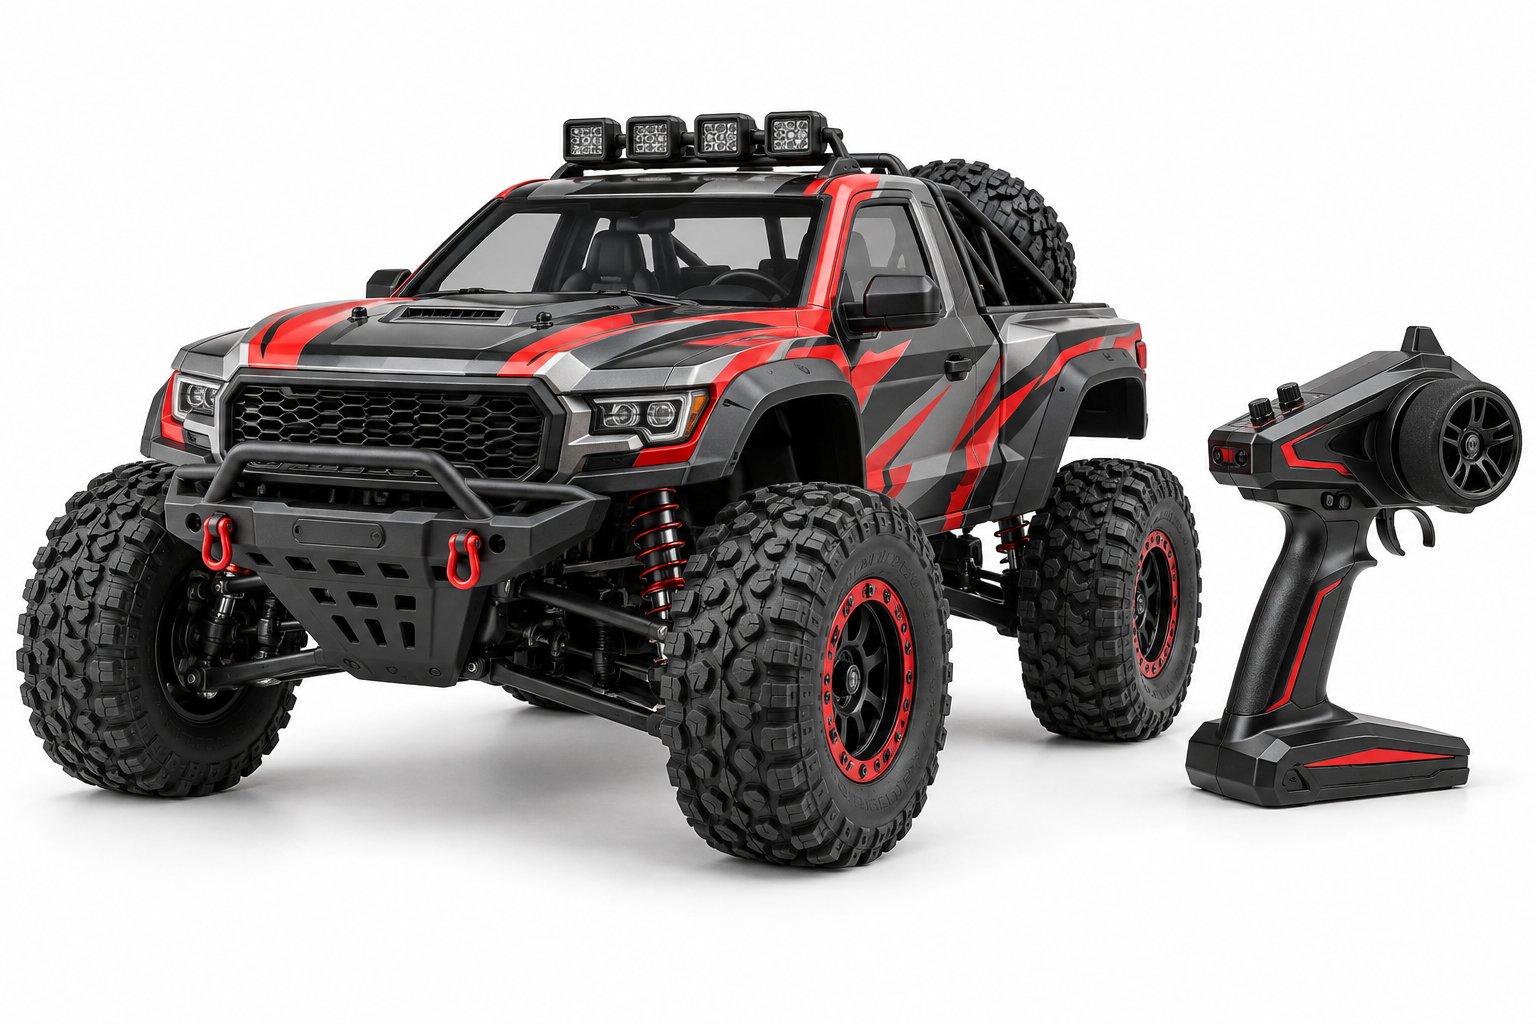
If you are comparing RC car models for your market, note the battery chemistry and connector type each model uses, and whether the included transmitter supports endpoint and dual-rate adjustment. Those details determine how easily your customers can follow a setup guide like this one. For outdoor and rougher surfaces, four-wheel-drive layouts with independent suspension — like our 4WD RC off-road truck with per-wheel independent suspension and USB-rechargeable battery pack — tolerate gravel, grass and packed sand that simpler two-wheel-drive toys struggle with.